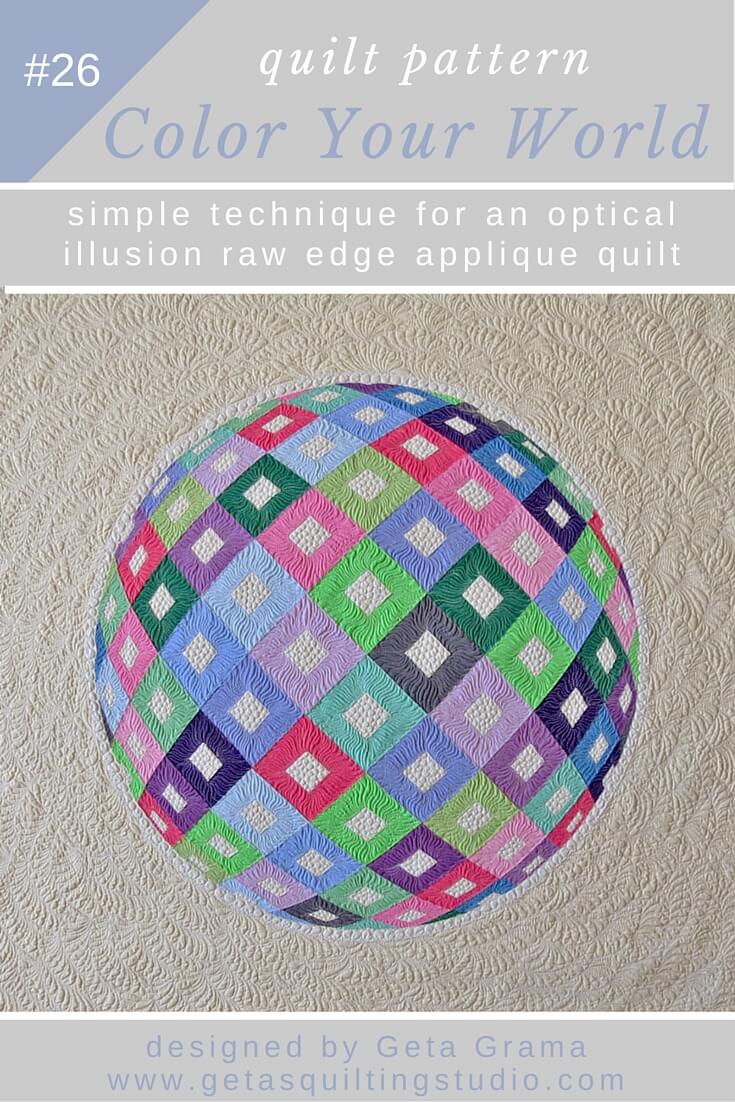
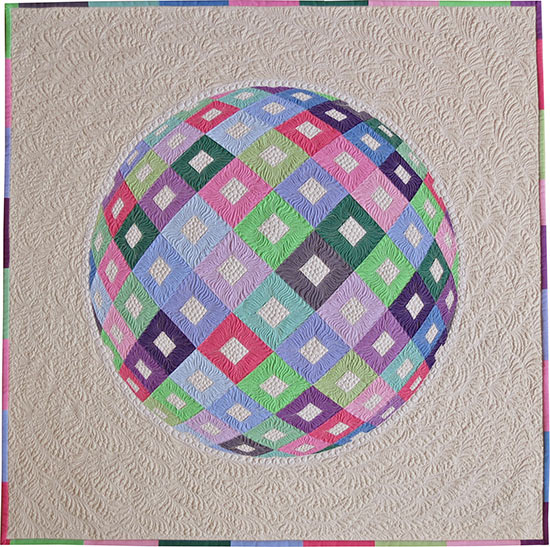
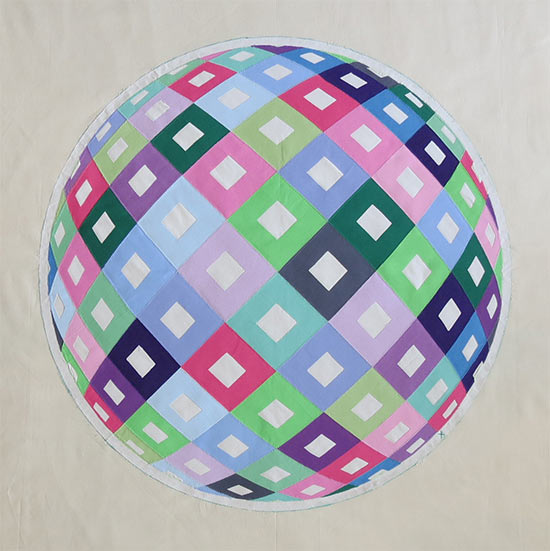
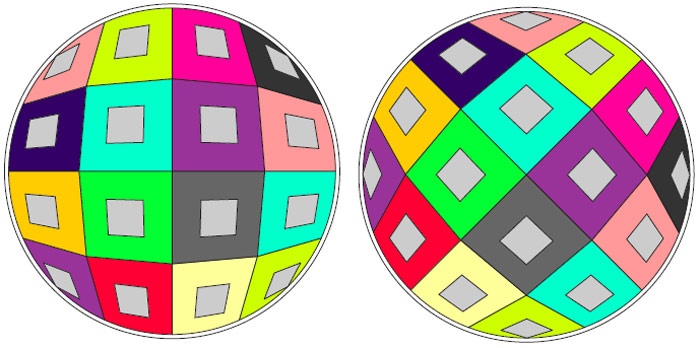
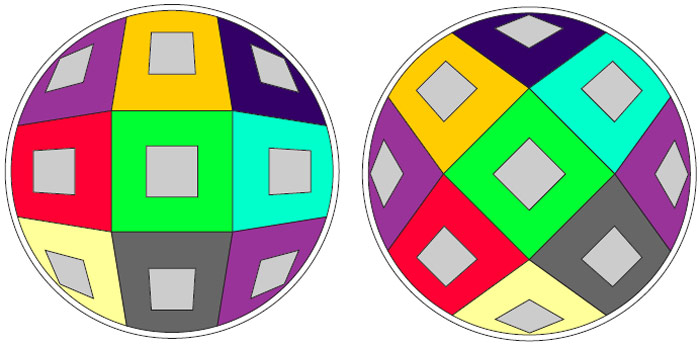
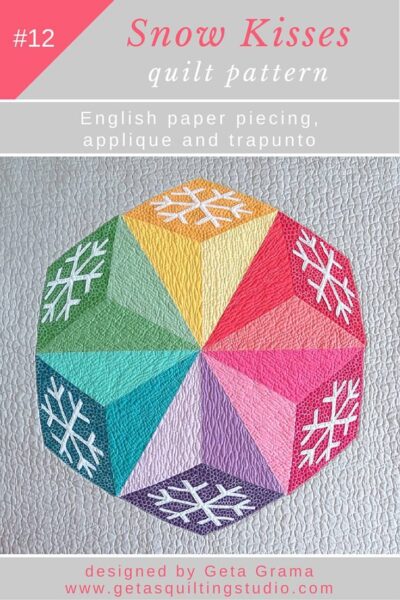
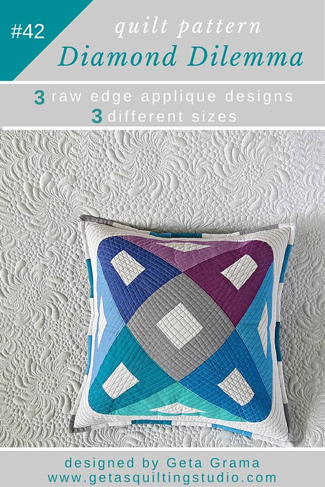
– simple technique plus an unique design for a striking quilt –
This optical illusion 3D applique quilt pattern includes:
list of fabric requirements
instructions for preparing the applique pieces
instructions for assembling the center design
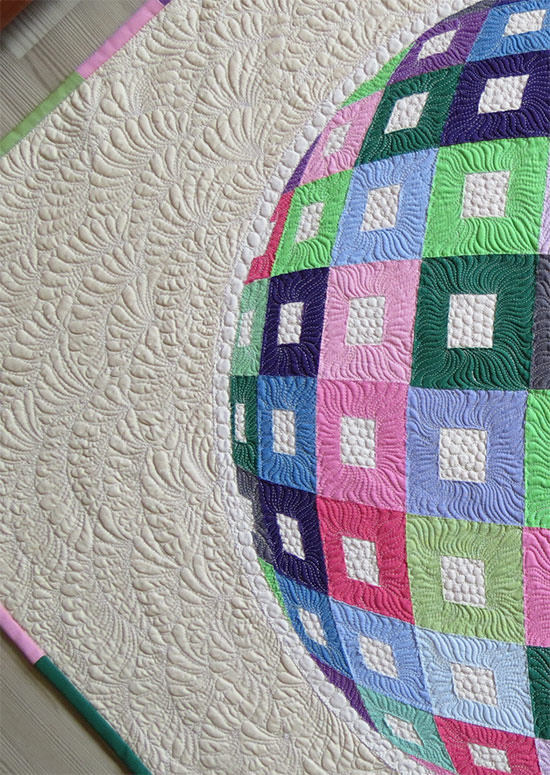
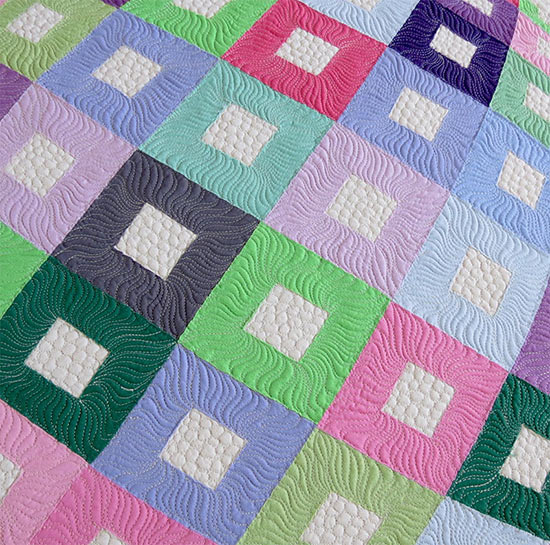
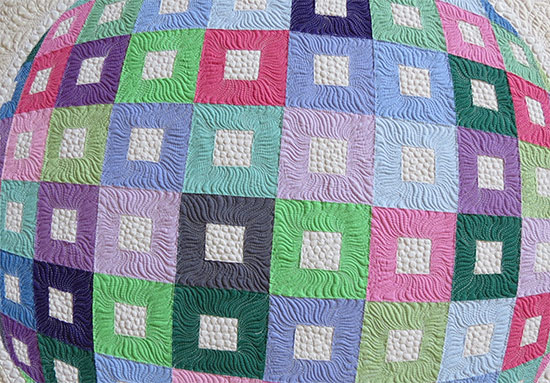
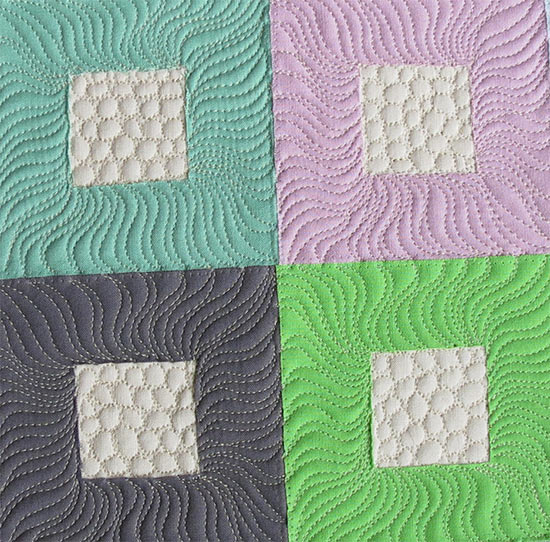
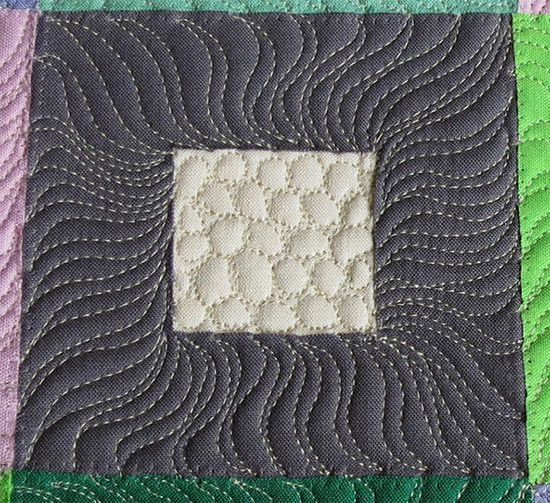
suggestions for quilting
instructions for washing and finishing the quilt
full-size pattern for a 26” center design
small pattern that can be enlarged to any size.
Despite its complicated look, this is a quick and easy quilt pattern.
Quilt size: 34”’ x 34” (85 x 85 cm) Center Design: 26” diameter (65 cm)
88 blocks
This pattern requires fusible web and water soluble pen.
You have to mark the design on fabric and then fuse the applique pieces onto it. You will be ironing over the markings, so make sure you have a marking pen that does not disappear with heat, but can be washed out when you are finished with the quilt.
Test how your marking pen reacts to ironing. Mark a scrap of fabric then press. Wash the fabric the same way you will wash the quilt. Before starting to make the quilt, make sure the marking lines wash out completely.
I use washable markers designed specifically for kids. They are cheap and come in many colors; see here more information about them.
Quick and Easy Technique
Print the pattern on paper, transfer the design on the top fabric, prepare the applique pieces, then fuse them in place. A finished top in a few hours!
Suggestions for quilting are provided.
This quilt is machine free motion quilted with a free motion (darning) foot and feed dogs down. I followed this free tutorial on my blog.
NOTE
The design is also perfect for machine quilting with a walking foot and straight line stitching.